Dust-Free Tile Removal
NEW, REVOLUTIONARY, DUST-FREE TILE REMOVAL
Are you sick of putting up with dust throughout your home when renovating? Or scared of even starting a renovation because of the horror stories you have heard of dust spreading everywhere and being told that there is no other way? Well, now there is hope in the way of “virtually” dust-free renovations!
Over the past few years, All Stripped has been experimenting and developing innovative methods of reducing, controlling and extracting dust from all of our jobs.
These methods are groundbreaking and new to the dirty and dusty task of tile removal.
With the assistance of high-powered vacuum systems, and various attachments to all of our machinery, All Stripped can produce a “virtually” dust-free environment on most work sites.
Examples of Before, During, & After The Tile Removal Process
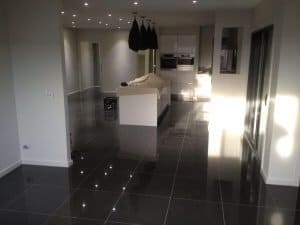
Before Tile Removal
Before commencing work, brand new porcelain tiles
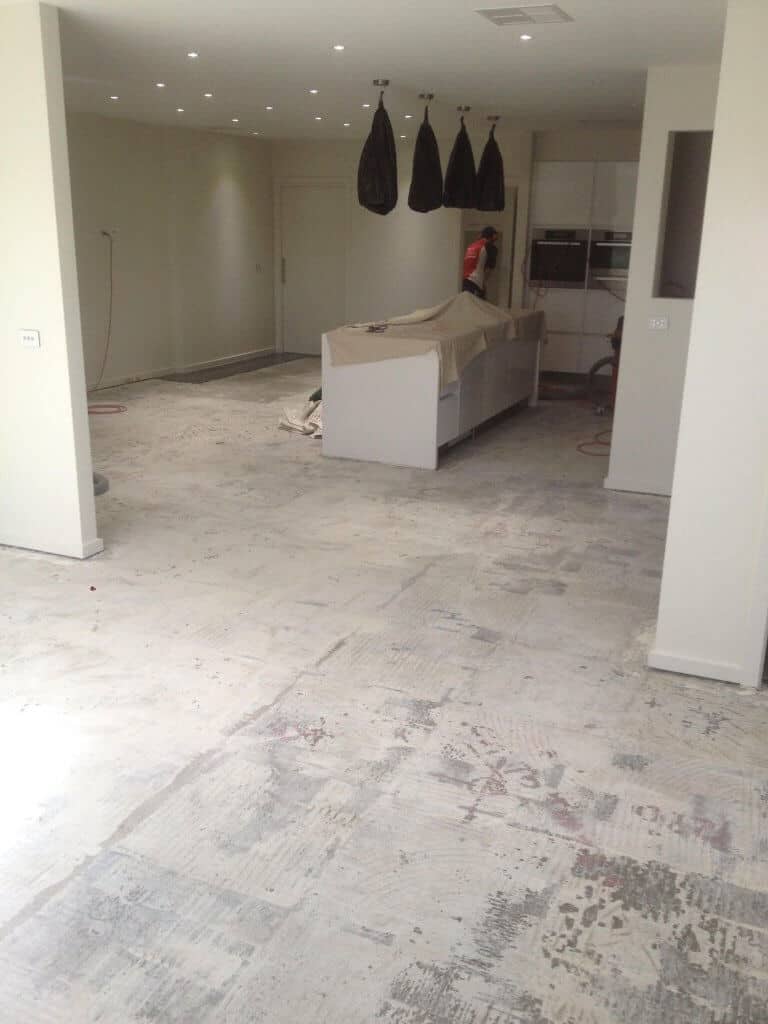
Tiles Removed
Once tiles are removed, the next step is grinding of tile glue
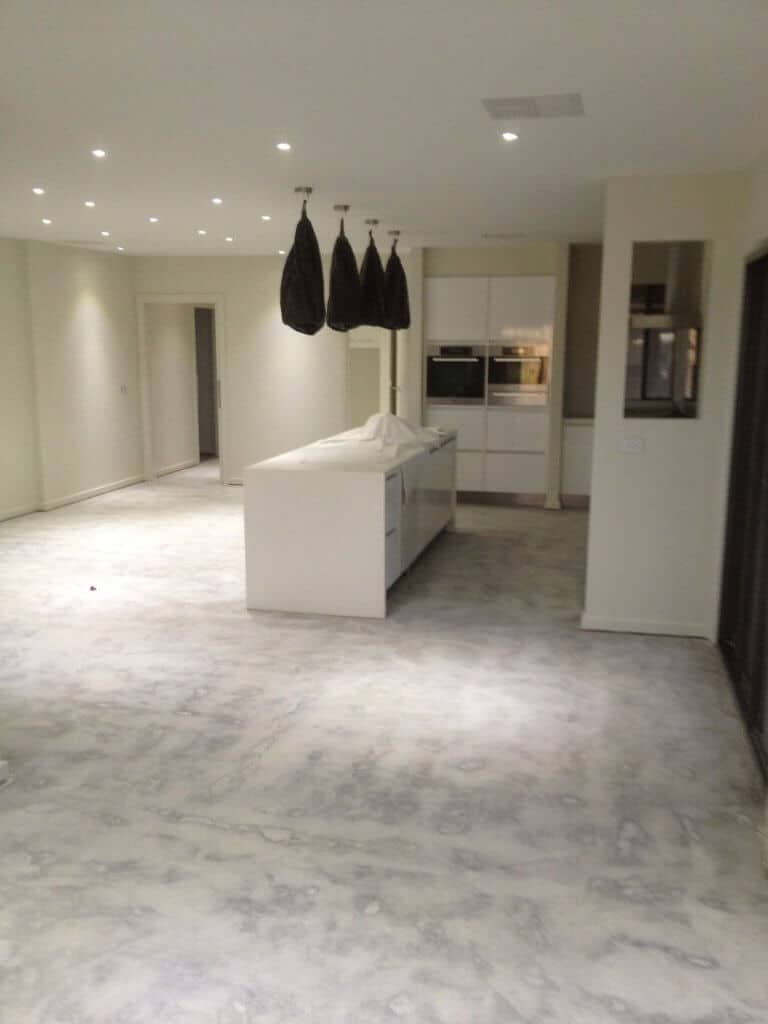
Completed
All tiles & glue were removed dust free, leaving a clean smooth surface
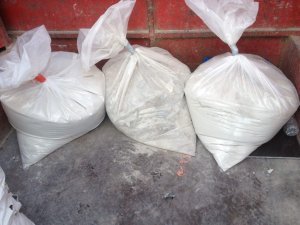
Dust Collected
Without All Stripped vacuum systems, dust would have been throughout the home!
*Not all jobs can be dust-free;
When we are completely stripping out a bathroom substantial dust is produced from removing wall plaster, render, tiles and ceilings. This dust is still reduced by the use of our vacuum systems, but not dust-free.
All Stripped has high-powered machinery for floor stripping and dust removal. These machines require a large amount of electrical power and some houses & units with old electrical wiring & fuses have minimal power outputs are not capable of running all of our equipment.
Ceramic floor tile removal
This is now the cleanest of our tasks, all dust is extracted at floor level whilst removing tiles. The remaining tile glue is removed using concrete grinders with powerful vacuums attached. This means that dust is not left to flow throughout your home. Proof of this can be seen by the large bags of dust shown in the photos on this page. All of this dust was extracted from one job, which otherwise would have floated throughout your home.
Slate, Terracotta or tiles & screed removal.
Previously this has been a very dusty process, and whilst there is still substantial dust from the impact and breaking up of tiles & screed, All Stripped Dust free solutions suppress this dust, keeping the dust at ground level and then extracting the dust with high powered vacuum cleaners and stopping this dust spreading throughout your home.
All Stripped will continue to develop and improve our systems and services to ensure our clients receive superior workmanship and service every time.
Further Examples of Before, During, & After The Dust-Free Tile Removal Process
Before Tile Removal
During the process of tile removal, large vacuums are used to extract dust, stopping dust from spreading throughout your home.
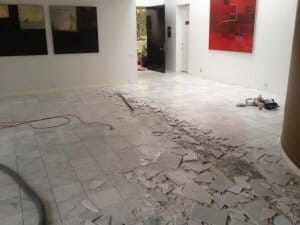
Tiles Removed
Concrete grinding is dust-free by using large vacuum systems, leaving the floor smooth and clean
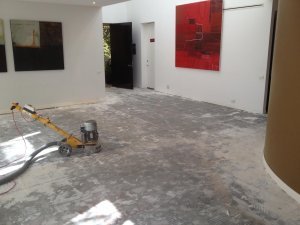
Completed
Work complete, clean smooth floor and no dust.
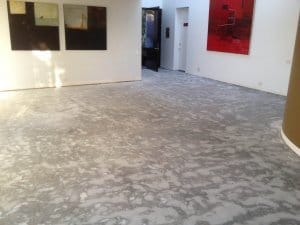
How much does it cost to remove tile flooring?
The cost of removing tile flooring depends on the type of tile, glue and sub-floor. The price can start from $35 per square metre for ceramic tiles and glue removal from concrete. Tiles on screed bedding usually cost more to remove. Extra costs will be involved if tiles are in wet areas as removing the waterproof membrane requires heavy grinding.
Do you have to replace subfloor after removing tile?
This entirely depends on the sub-floor material. For example, replacing the subfloor after removing tiles isn’t necessary if the subfloor is made of concrete. However, if the subfloor is ply or yellow-tongue chipboard then repairs or replacement may be required. If the subfloor has minimal damage and remains level, you can install new flooring directly onto it. If the subfloor is warped, cracked, or uneven, replacing it ensures a stable and long-lasting floor.
Can tiles be removed without damage?
Removing tiles without damage is possible, but it requires care and depends on several factors. The ease of removal depends on the material of the tile itself, the type of adhesive used, and how long the tiles have been there. Professional tile removers use specialised tools to remove tiles and tile glue to minimise damage. However, some tile cracking or chipping is common even with the right technique.
How long does it take to remove tiles?
The time it takes to remove tiles varies based on factors like tile type, size and condition of your floor. Generally, a professional tile removal service can remove 8-10 square metres of tiles per hour. This means a small area can take only half a day while larger spaces may require a full day or more.
How do professionals remove tile floors?
The professional way to remove floor tiles involves using power tools like jackhammers and diamond grinders. These tools make the job significantly faster and easier. All Stripped has high-powered machinery for floor stripping and dust removal. Any remaining tile glue is removed using concrete grinders with powerful vacuums attached.
Does the Tile Removal service include removal and disposal of debris?
Yes. We perform a full site cleanup after every tile removal service, ensuring all waste and debris are bagged and disposed of responsibly, via skip bins onsite or to waste transfer facilities.


